
Import Scanned pdf For Sales Invoices
2.1 Import pdf
If you need to record an pre-existing sales invoice that was generated by a tool other than Miragebooks, the Import Scanned PDF function is highly convenient for you. Simply import a PDF copy of the Sales Invoice into Miragebooks, our auto-scan feature processes the information and adds an entry for you.
💡 To utilize this feature, ensure that you have a PDF copy of the invoice saved in your phone’s file folder. Additionally, please note that the invoice must be computer-generated or machine-printed and not handwritten.
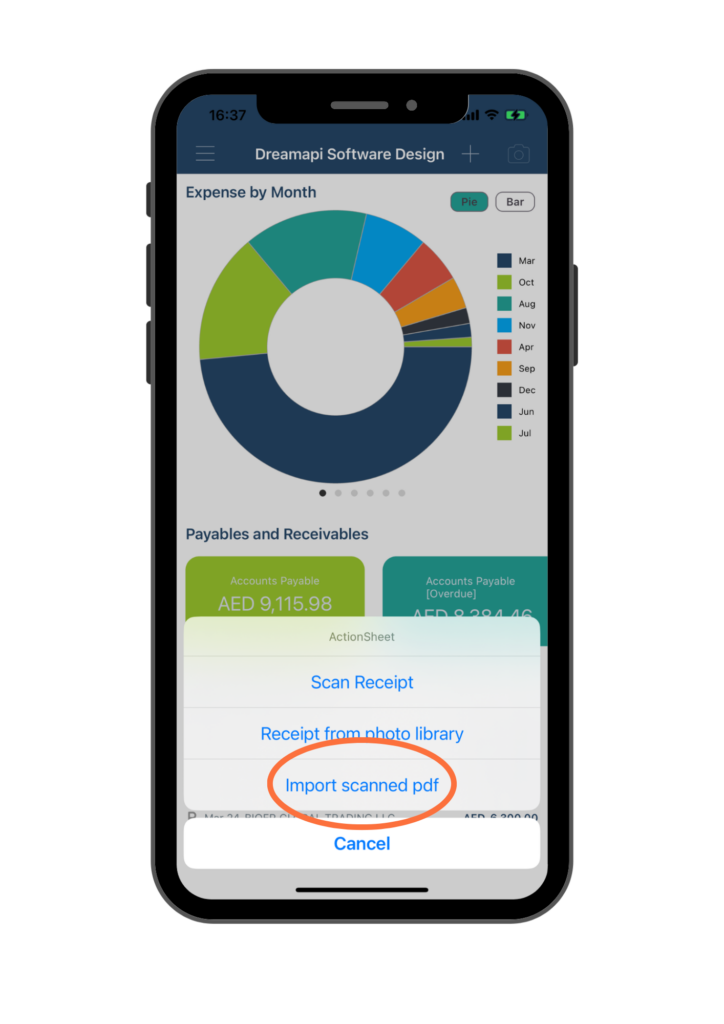
Navigate to the Dashboard page and click on the Camera icon.

Upon clicking the Camera icon on the dashboard page, select Import scanned pdf.
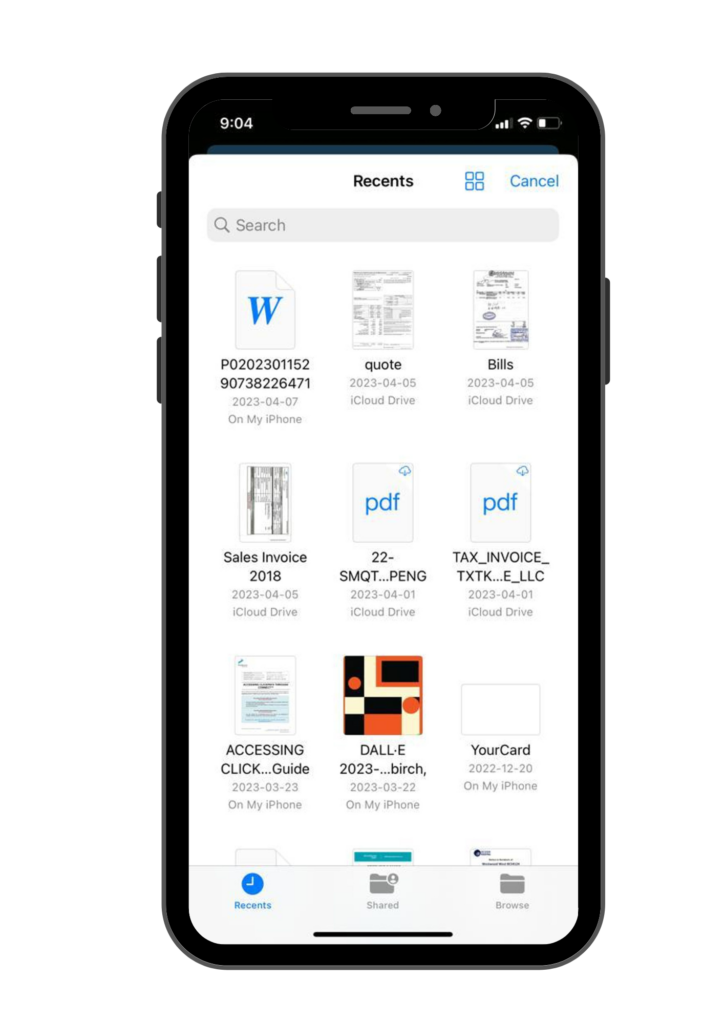
This will open your phone’s file folder, allowing you to select the desired PDF file for Miragebooks to scan.
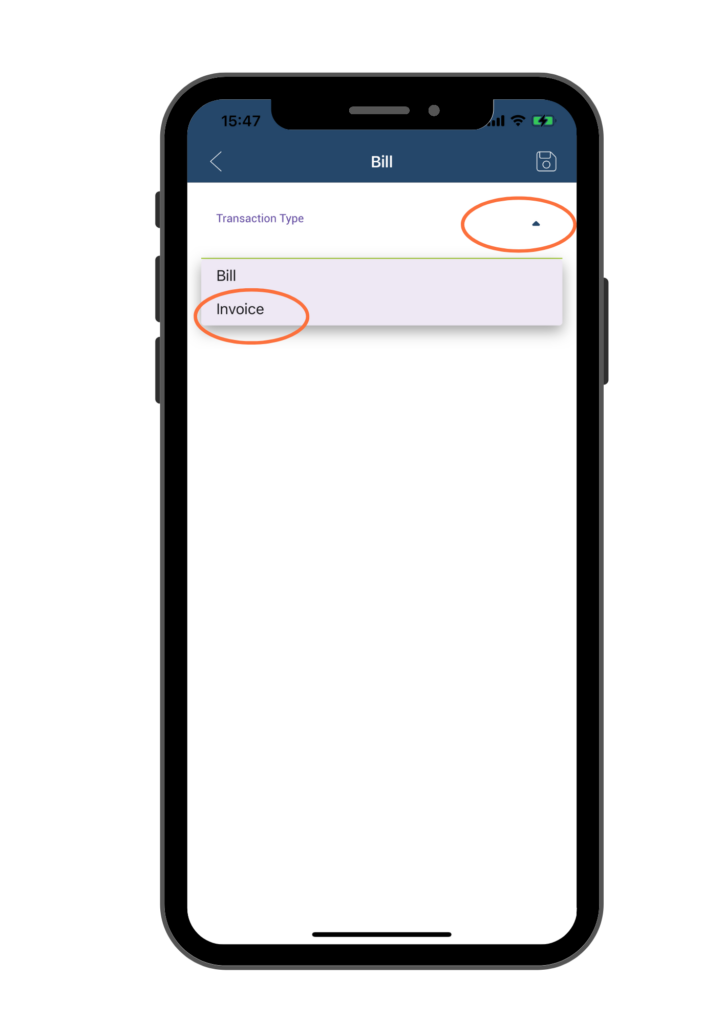
After selecting the file to upload, you will be prompted to choose the Transaction Type. Click on the dropdown menu.
Select “Invoice” if you are uploading a Sales Invoice. This will ensure that the entry is categorized correctly as an Invoice.
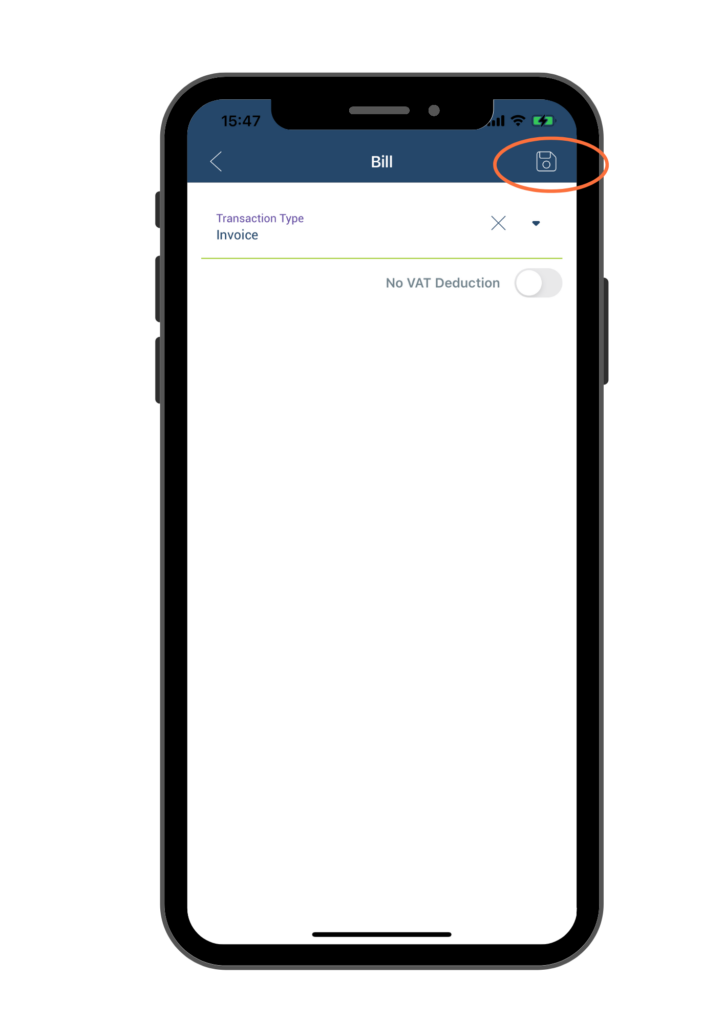
Then, click on the Save icon located at the upper right corner of the page to save the imported Invoice.
You will then be brought back to the Dashboard page. Refresh it by pulling down the screen. The Charts will be updated with the new data, and the Payables and Receivables amounts will be adjusted accordingly. Additionally, a new entry will appear in the Recent Bills & Invoices section with a letter “I” on the left side, indicating that it is a Sales Invoice. You can also find the file you just uploaded appear in the Imported Files section.
💡 *Batch Upload pdf Invoices: If you would like to batch upload multiple Sales Invoices at once, Import scanned pdf can help you achieve that. All you need to do is scan multiple Sales Invoices into one pdf file, then select Import Scanned pdf and repeat above steps in section 5.1 to import this pdf file to Miragebooks. It will then auto scan each Sales Invoice in this pdf and create entries accordingly.
2.2 Review and edit new invoice entry
Once it’s imported, double click on the newly imported entry from the Recent Bills & Invoices section. You will be brought to Sales Invoice information page.
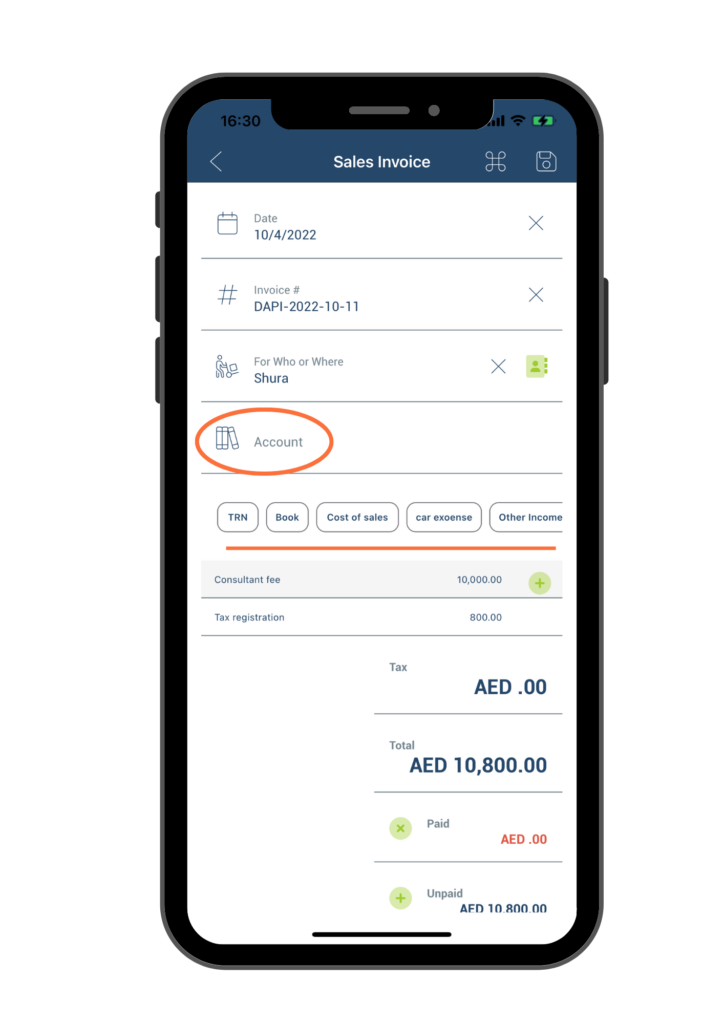
In the Account field, manually select an account from the list presented. Swipe left or right to view all options and choose the most suitable one. If the account name you need is not in the list, you can manually enter the account name in the field.
💡 Notes: To ensure the accuracy of your records, we recommend that you always review the details of the newly imported entries. Please check all fields on the page: Date, Invoice#, From Who or Where, Account, Tax, Total, as well as the amounts and descriptions of each line item on the Sales Invoice.
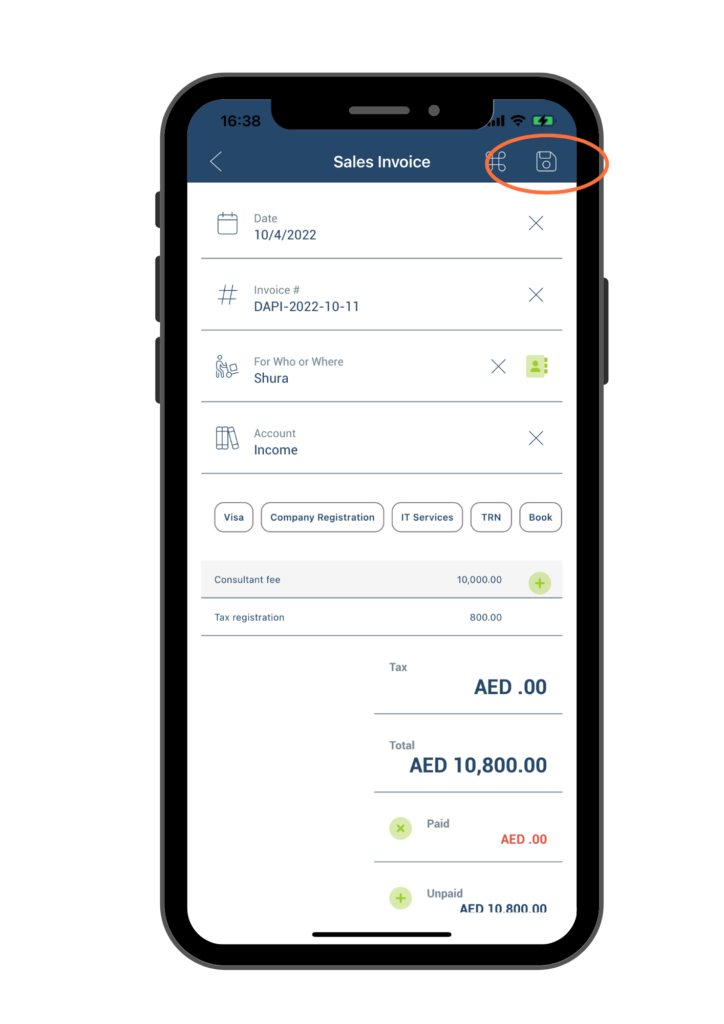
Once you have selected the account and reviewed the information in every field, click the Save button located at the upper right corner of the page
Once you clicked on the Save button, you will be presented with two options:
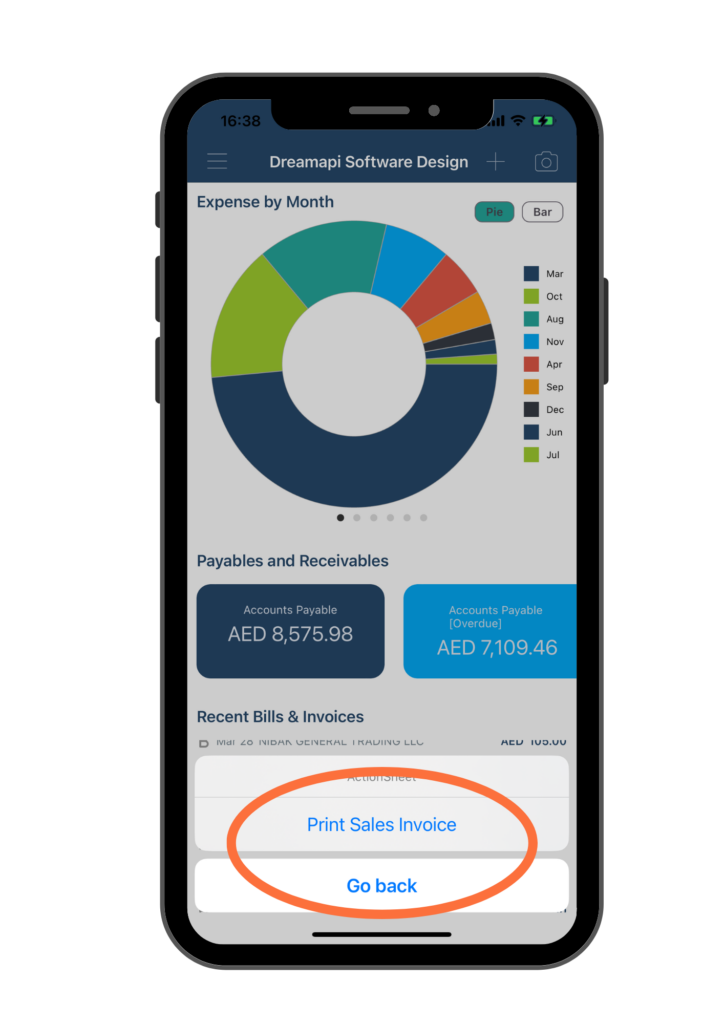
- Print Sales Invoice – This option will generate an invoice electronically that you can send to the customer or save on your device. For detailed instructions, please refer to Print Sales Invoice section.
- Go back – If you do not require to send the Sales Invoice to any recipient, select the Go Back option and return to the home page.
If you would like to add or edit any information on the Sales Invoice page, please refer to the Manually Create and Print Sales Invoice section for detailed instructions.