
Auto-scan Receipts or Bills
To save you the hassle and time of manually entering your bill or receipt information, Miragebooks offers an automatic scanning feature for computer-generated or machine-printed documents. This feature will extract the relevant data from the photo or the pdf, then populate the corresponding fields with correct information, allowing you to quickly and easily add the bill or receipt to your records.
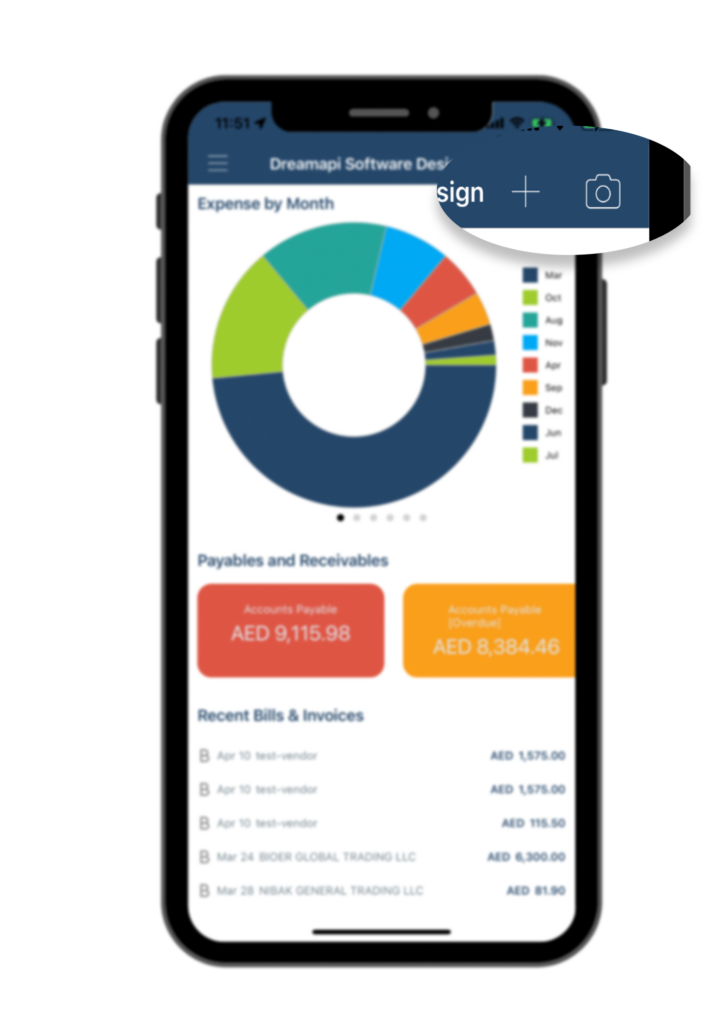
To use this feature, navigate to the dashboard page and click on Camera icon.
You will be presented with three options, as shown in the screenshot below: Scan Receipt, Receipt from photo library, or Import scanned pdf.
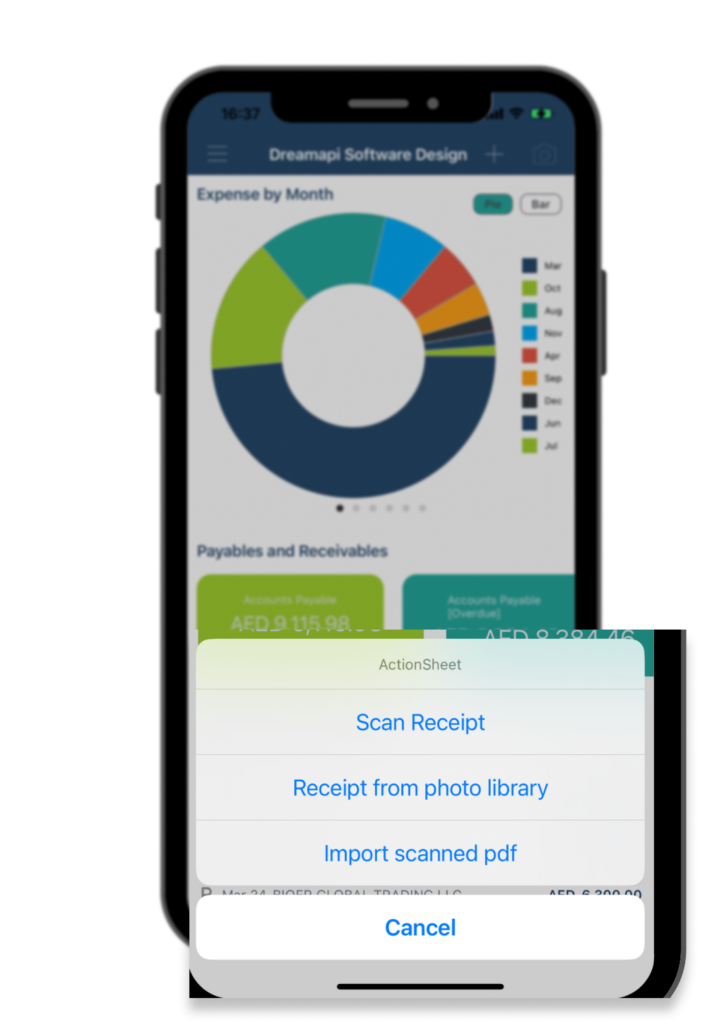
Among the three available options, “Scan Receipt” and “Receipt from Photo Library” utilize photos, whereas “Import Scanned PDF” utilizes PDF files.
Using a picture : Option 1– Scan Receipt & Option 2– Receipt from photo library
Option 1: Scan Receipt
If you want to capture a new photo to scan, select this option.
Tap on the “Scan Receipt” button, your phone camera will be activated, allowing you to capture a photo of your receipt or bill. Make sure that the photo includes the merchant’s name, date, and amount for accuracy.
If you are not satisfied with the picture and want to take a new one, click on the “Retake” button.
Miragebooks will take a few seconds to scan the photo.
Option 2: Receipt from photo library
When you have an existing photo of your receipt or bill saved in your phone’s photo library, you can select the option “Receipt from photo library” to retrieve it. The Miragebooks app will then prompt you to select the desired photo from your phone’s photo library. Once you have made your selection, Miragebooks will take a few seconds to scan the photo.
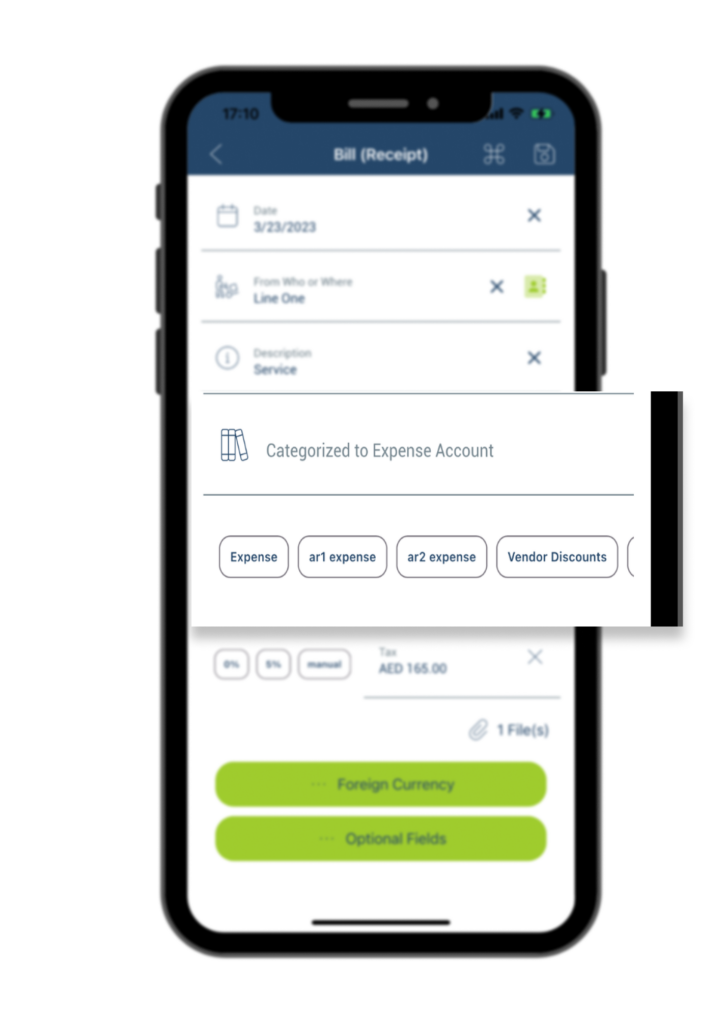
After completing the scanning process, you will be directed back to a Bill information page, either a Bill(receipt) or a Bill(invoices), to review and complete the required information.
In the Categorized to Expense Account field, manually select an account from the list presented. Swipe left or right to view all options and choose the most suitable one. If the account name you need is not in the list, you can manually enter the account name in the field.
To ensure the accuracy of the entries, we recommended you to check all fields on the page: Date, Invoice#, From Who or Where, Tax, Total, as well as the dollar amounts and descriptions of each line item on the bill.
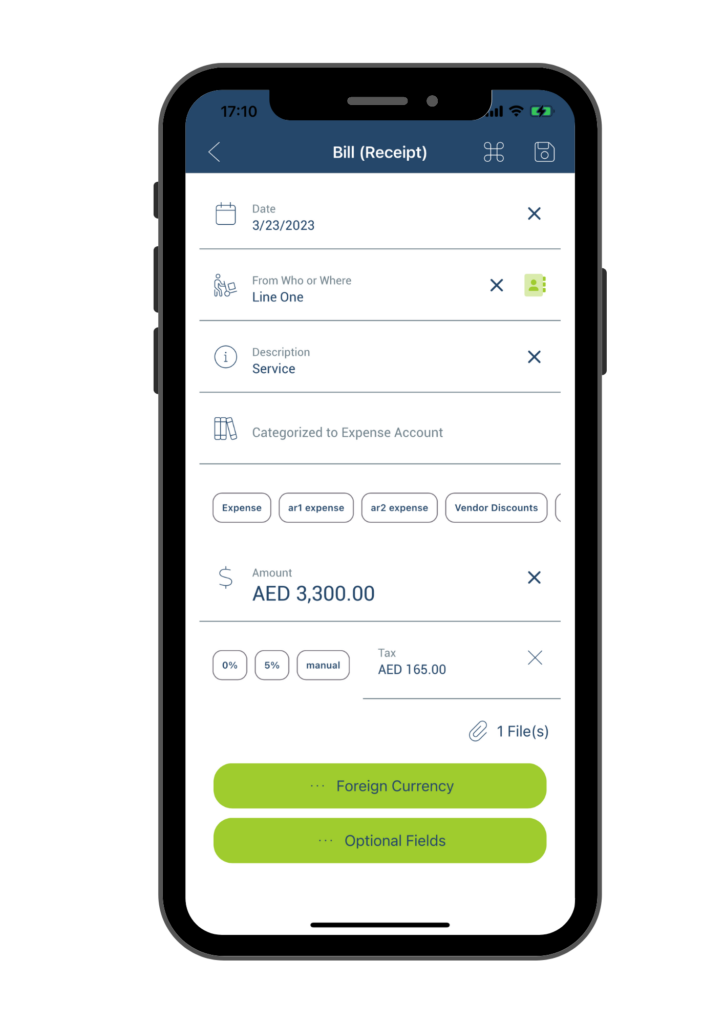
If you need to edit any field, add optional information or change the currency on the form, please refer to the Manually Add Receipts or Bills section for detailed steps. However, if you don’t have any optional information to add or change, simply click on the Save button located at the upper right corner of the page to save the information.
Once you return to the home page, refresh data by pulling the home page down.This will ensure that any recent updates or changes are reflected in the most current data displayed on the home page.
Using a pdf file: Option 3– Import Scanned pdf
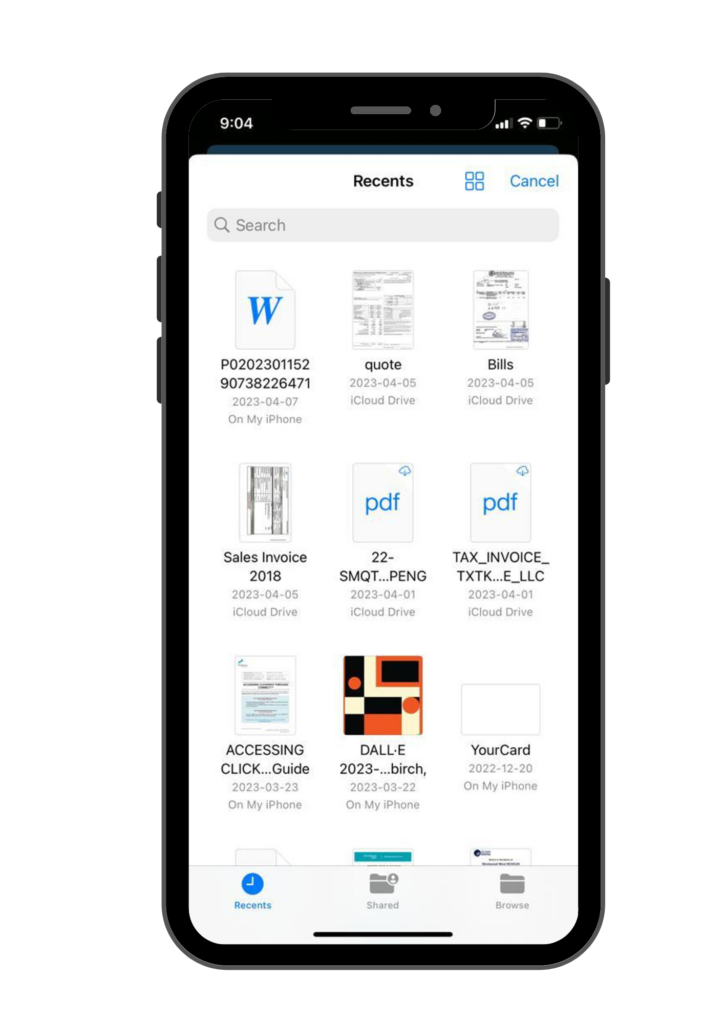
If you have a scanned PDF file of your receipt saved in your phone’s file folder, you can select “Import scanned PDF” to upload the file. This will open your phone’s file folder, allowing you to select the desired PDF file for Miragebooks to scan.
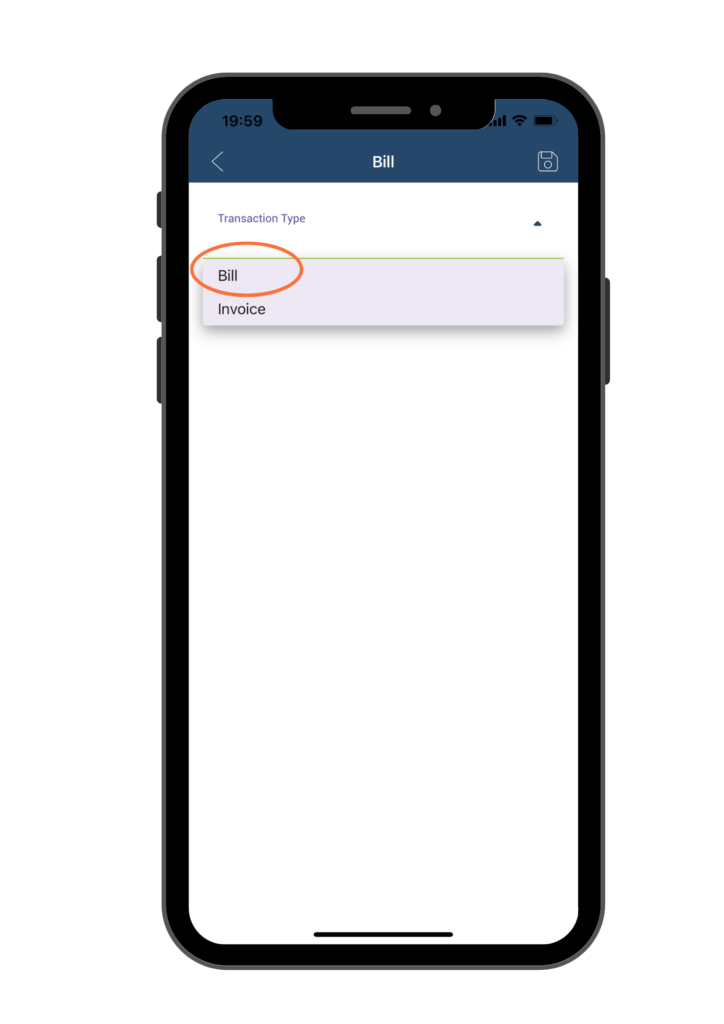
After selecting the file to upload, you will be prompted to choose the Transaction Type. Click on the dropdown menu.

Select “Bill” if you are uploading a receipt or a bill. This will ensure that the entry is categorized correctly in Miragebooks.
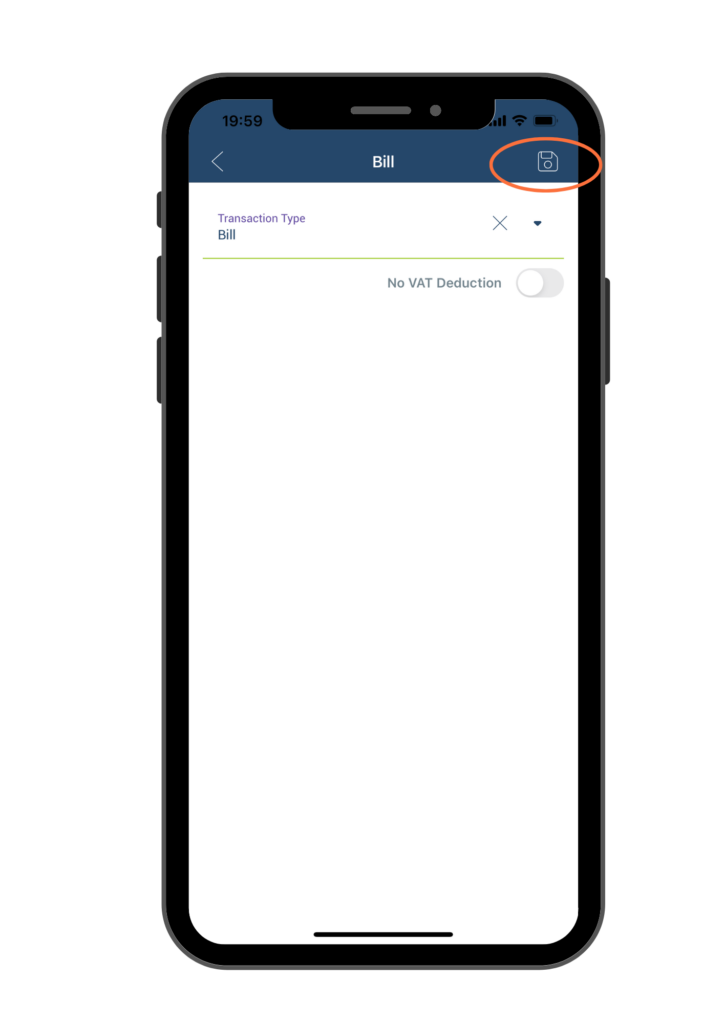
Then, click on the Save icon located at the upper right corner of the page to save the imported bill.
You will then be brought back to the Dashboard page. Refresh it by pulling down the screen. The Charts will be updated with the new data, and the Payables and Receivables amounts will be adjusted accordingly. Additionally, a new entry will appear in the Recent Bills & Invoices section with a letter “B” on the left side, indicating that it is a Bill. You can also find the file you just uploaded appear in the Imported Files section.
*Batch Upload pdf Bills: If you would like to batch upload multiple bills at once, Import scanned pdf can help you achieve that. All you need to do is scan multiple bills into one pdf file, then select Import Scanned pdf and repeat above steps to import this pdf file to Miragebooks. It will then auto scan each bill in this pdf and create entries accordingly.
Once it’s imported, double click on the newly imported entry to review the detail.
In the Categorized to Expense Account field, manually select an account from the list presented. Swipe left or right to view all options and choose the most suitable one. If the account name you need is not in the list, you can manually enter the account name in the field.
To ensure the accuracy of your entries, we recommend that you always review the details of the newly imported entry. To do so, simply double-click on the new entry in the Recent Bills & Invoices section. Please check all fields on the page: Date, Invoice#, From Who or Where, Categorized to Expense Account, Tax, Total, as well as the dollar amounts and descriptions of each line item on the bill.
If you need to edit any field, add optional information or change the currency on the form, please refer to the Manually Add Receipts or Bills section for detailed steps. However, if you don’t have any optional information to add or change, simply click on the Save button located at the upper right corner of the page to save the information.
Once you return to the home page, refresh data by pulling the home page down.This will ensure that any recent updates or changes are reflected in the most current data displayed on the home page.